
The 3 minute water test
Get started with your Geek Robocook in the most simplest way. Plug in your Geek Robocook, pour 3 cups of water and set the timer manually for 3 minutes. Make sure the pressure valve is closed. Once done just release the steam and you are all set to enjoy cooking with your Geek Robocook.
All parts of the Geek Robocook, apart from the cooker base, are dishwasher safe. This includes the detachable stainless-steel inner pot, the lid, the sealing ring, and the steam rack. The cooker base must be kept dry but can be wiped down with a damp cloth when necessary. The anti-block shield should be washed after each use and re-installed.
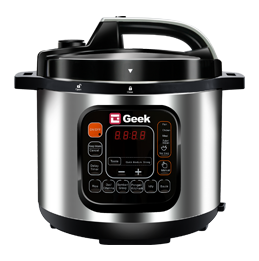
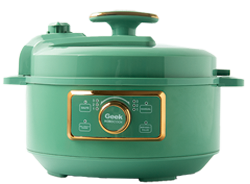
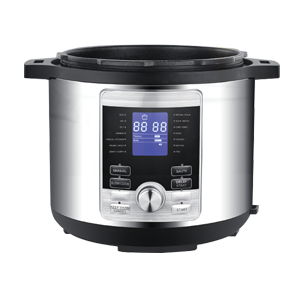
Cooker Base and Heating Element
The Robocooks base is home to the microprocessor and the heating element that is essential to cooking. Do not place it in the Dishwasher! If the cooker base does get wet, allow it to dry completely. Contact the Customer Care team for further help at www.robocook.com/support
Use only a damp cloth to clean the exterior of the cooker base. You can use a slightly damp cloth to clean the inside of the cooker. It is important that the cooker be kept dry. If you need to clean the area around the lip of the cooker, use a damp cloth or an old toothbrush to clean the edges.
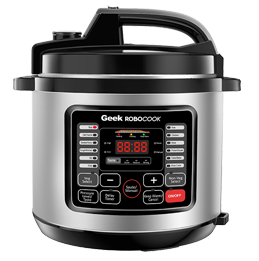
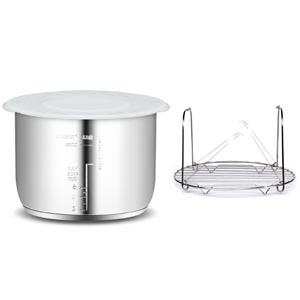
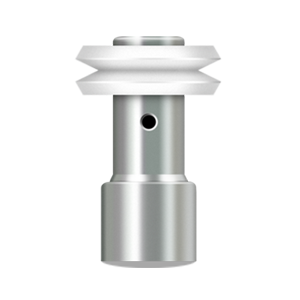
Stainless Steel Inner Pot & Steam Rack
The inner pot and the steam rack are made of sturdy, food-grade stainless steel/ teflon and are entirely dishwasher safe. For the most part, you can keep the inner pot cleaned just as you would clean any stainless-steel pot by hand wash or in the dishwasher. Should the inner pot develop any water stains, a non-abrasive scouring cleanser, made especially for cooking pots, brings back the original sheen. To periodically clean the inner pot, you can place 1 cup of white vinegar in the bottom of the inner pot. Allow it to rest for 5 minutes, and then pour out the vinegar and rinse.
Anti-block Shield
The anti-block shield underneath the lid should be removed and cleaned after each use, especially following cooking of foods that may splatter.
To remove, use your thumb and push the side of the anti-block shield towards the lid rim and lift up. It may take a little effort, but the anti-block shield will pop out.
Wash the shield with warm, soapy water. Rinse, wipe dry with a soft cloth, and place back in position when dry. To position the anti-block shield in place, place it correctly and push down.
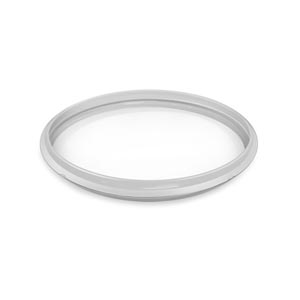
Sealing Ring
The sealing ring is made of high-quality, heat-resistant silicone. It can be hand-washed with soapy water or placed in the dishwasher. The sealing ring is critical in the functioning of your cooker. The ring must be dried completely before inserting it back into the lid. Inspect it carefully after it is washed. Ensure the sealing ring is positioned in the lid after every wash, and that it is securely in place before you start cooking.Under normal conditions the sealing ring will last for 18 – 24 months. But, if there is any sign of cracking or other damage, replace the sealing ring. The sealing ring is porous and may absorb odors and become discolored. You may require different sealing rings for different cuisine. To avoid discoloration and odors, it is advisable to change the sealing ring every 6 – 12 months. Make your replacements only with Genuine Robocook sealing rings. Using other brands may void your Robocook Warranty.
Most of the common issues on Robocook can be self-examined with the pointers given below. You can also check FAQs on the pages of the specific model.
1. This is the sound of power switching and expanding pressure board when changing temperature | Solution: This is normal, no action is needed.
2. Bottom of the inner pot is wet | Solution: Wipe the bottom of the inner pot and ensure the heating element is dry before cooking.
1. Lid might have been opened too early | Solution: After the cook cycle has completed, allow the cooker to sit for 5-10 minutes before venting using the QR method
2. Lack of water | Solution: Adjust the rice to water ratio.
Too much water | Solution: Adjust the rice to water ratio.
1. Sealing ring not properly installed | Solution: Reposition sealing ring, ensure it is snug behind the sealing ring rack.
2. Float valve in the popped-up position | Solution: Gently press the float valve downward with a long utensil.
3. Contents in cooker are still hot enough to produce steam | Solution: Turn steam release handle towards the “Venting” position, then lower lid onto cooker base slowly, allowing heat to dissipate.
1. Pressure inside the cooker | Solution: Release pressure according to the recipe; open lid after it has depressurized and float valve has dropped down.
2. Float valve stuck at the popped-up position due to food debris or residue | Solution A): Ensure steam is completely released by QR method, then press float valve gently with a long utensil | Solution B): Open lid cautiously and thoroughly clean the float valve, its surrounding area, and lid before the next use of Robocook.
1. Food debris on float valve or float valve silicone cap | Solution: Remove float valve from lid and clean thoroughly; re-install in lid and perform an “Initial Test Run” to check for function; If there is a further issue contact our Customer Care.
2. Too little liquid in the inner pot | Solution: Check for scorching on the bottom of the inner pot. If so, add 1 cup (250mL / 8oz) liquid to the inner pot.
3. Float valve silicone cap worn, damaged or missing | Solution: Relace float valve with a new one.
4. Float valve is obstructed by lid-locking mechanism | Solution: Tap float valve with a long utensil. If not resolved, turn cooker OFF and remove small parts from lid; clean thoroughly and perform “Initial Test Run” to check for function; contact Customer Care
5. No heat in the inner pot | Solution: Perform “Initial Test Run” to check for function. iF issue continues please contact our Customer Care.
6. Inner pot base may be damaged | Solution: Check for deformation; perform an “Initial Test Run” to check for function and contact our Customer Care for further assistance.
1. No sealing ring | Solution: Install the sealing ring properly
2. Sealing ring worn or damaged | Solution: Replace the sealing ring with a Robocook sealing ring.
3. Food debris attached to the sealing ring | Solution: Remove sealing ring and clean thoroughly.
4. Lid not closed properly | Solution: Open and close the lid again.
5. Sealing ring rack is warped or off-center | Solution: Remove the sealing ring from the lid. Check for bends or warps. Contact Customer Care for further assistance.
6. Inner pot rim may be misshapen | Solution: Check for deformation and contact Customer Care for further assistance
Error codes
| Issue | Cause | Solution |
|---|---|---|
| E4 being displayed in the panel. | Unplug the power cord from the socket. Wait for 15 minutes. Afterwards, plug the cord back and press the cancel button. Select your cooking process to begin cooking. | |
| Burnt food at the bottom of the pot. | Lack of water in the pot. | Add sufficient water to the inner pot. |
| Trouble closing the lid. | Improper installation of sealing ring | Re-position the sealing ring to close |
| Trouble opening the lid | Pressure has not been fully released. | Gently turn the pressure limiting valve to EXHAUST |
| Trouble opening the lid. | Float valve is in the UP position. | Gently push the float valve down. |
| Steam released heavily while cooking. | The pressure limiting valve is in exhaust position | Move the pressure limiting valve and set to AIRTIGHT position. |
| E3 on the display panel | Overheating detected | Press cancel to stop cooking and check for burning at the bottom of the panel. |
| Blank display after power cord is plugged in. | Bad power connection. | Check and adjust the connection of the power cord at the cooker and the outlet. |
| Blank display after power cord is plugged in | Electrical fuse is blown. | Contact customer care to replace the fuse. |
